
Halloween is this weekend, and it’s just a generally scary time! I wanted to get in the Halloween spirit but didn’t have a particular outlet – no parties, nowhere to wear a costume even if I had one, no trick or treating. My husband and I recently moved to a new neighborhood, and we’ve been taking walks almost daily and have been admiring the decorations in the area – from mini graveyards, to huge, green inflatable Oogie Boogies, to twelve-foot skeletons, we’ve seen a lot of creativity and fun.
In our new building we’ve noticed there are a bunch of kids, and due to the pandemic we figured they might not get a chance to enjoy Trick or Treating – one of my favorite childhood memories! As a child, my brother and I would team up with two sisters, get wildly dressed up, and wander their neighborhood in search of sweets. Once we returned to their house, we would swap candies (the older siblings of course getting the better ones.. just kidding?). Of course my mom would make us ration them starting the next day and they lasted what felt like, to childhood me, a long time!
So I wanted to share the joy of getting candy without inviting strangers to our door during this actually terrifying Halloween season, and devised a plan! We would reverse trick or treat – leave candy at our neighbor’s doors! We counted the units on our floor in our apartment building, bought the supplies and prepared the bags. I decided to make them look as much like pumpkins as possible in the spirit of Halloween.

Either on Halloween day itself or leading up to it, we will affix the bags to our neighbors doors with a little note who it’s from (no mystery candy here!) so they will get a sweet surprise, whether they have children or not. Hopefully it will be well received, and if not maybe we’ll end up with excess candy – not a problem! We also made enough bags for the building staff too.
Here’s how I made the bags for those looking for a crafty night!
Pumpkin Gift Bag Supplies
- Cellophane gift bags
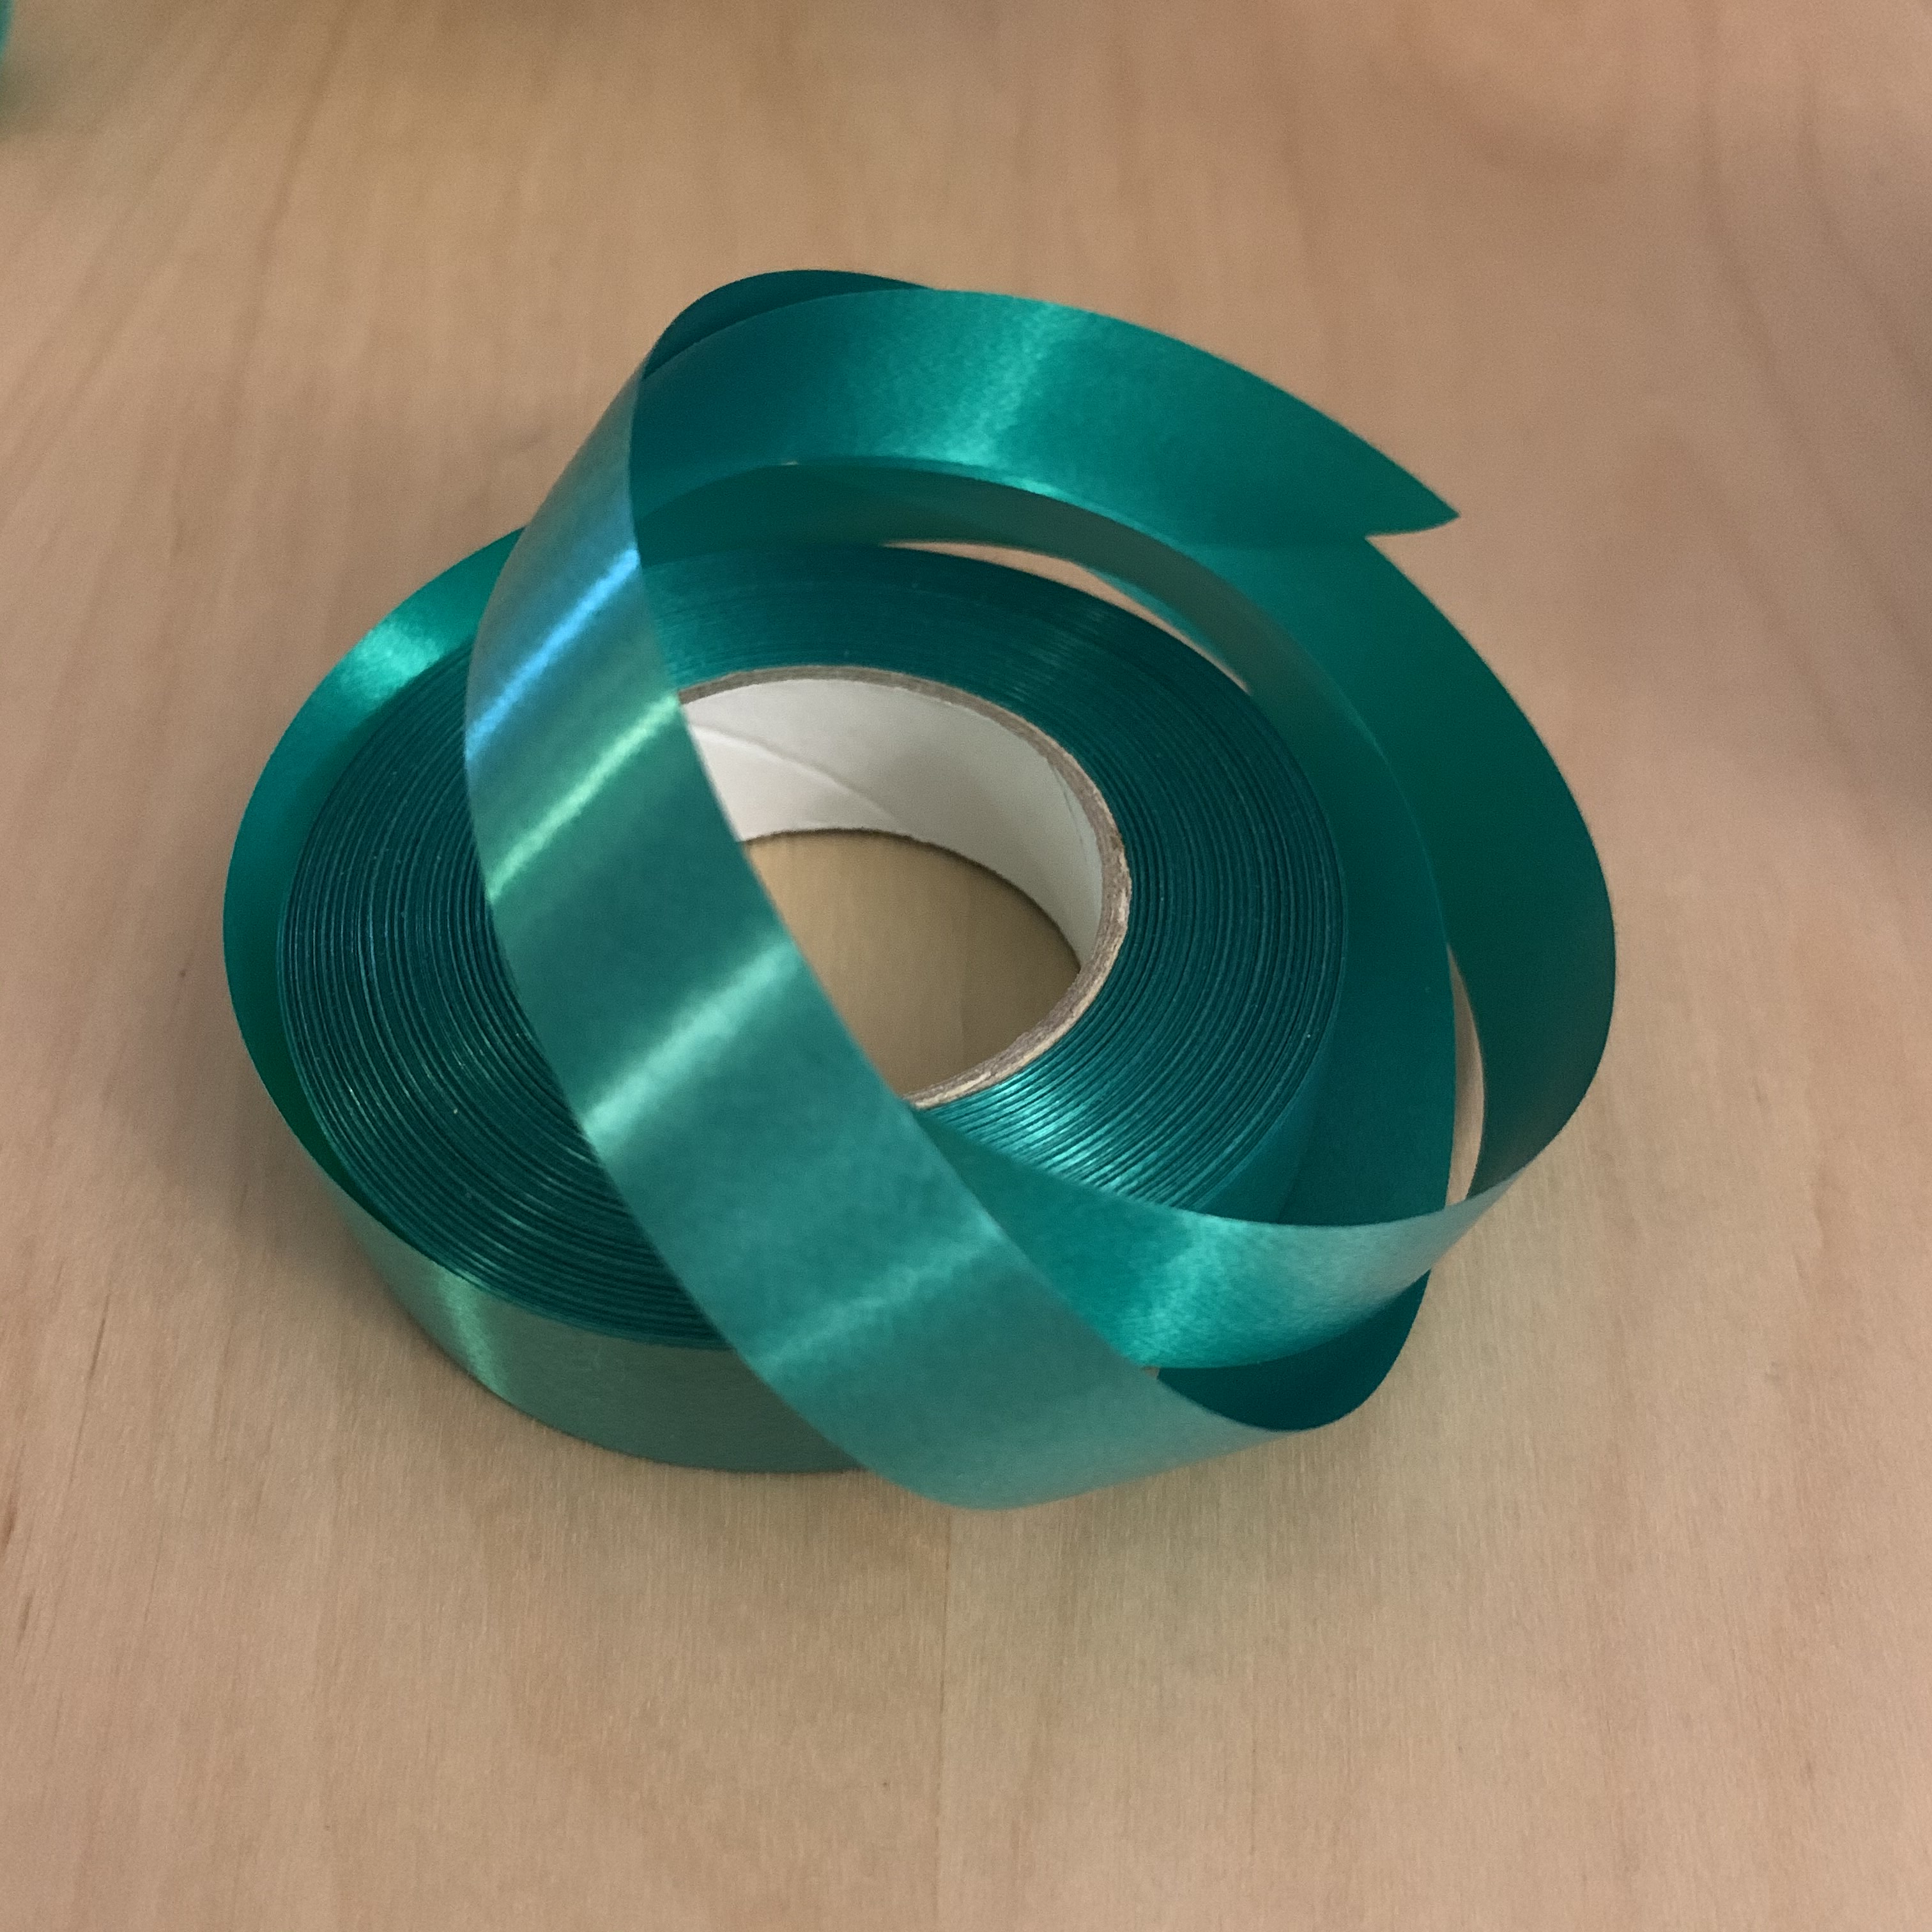
- Green Ribbon
- Scissor
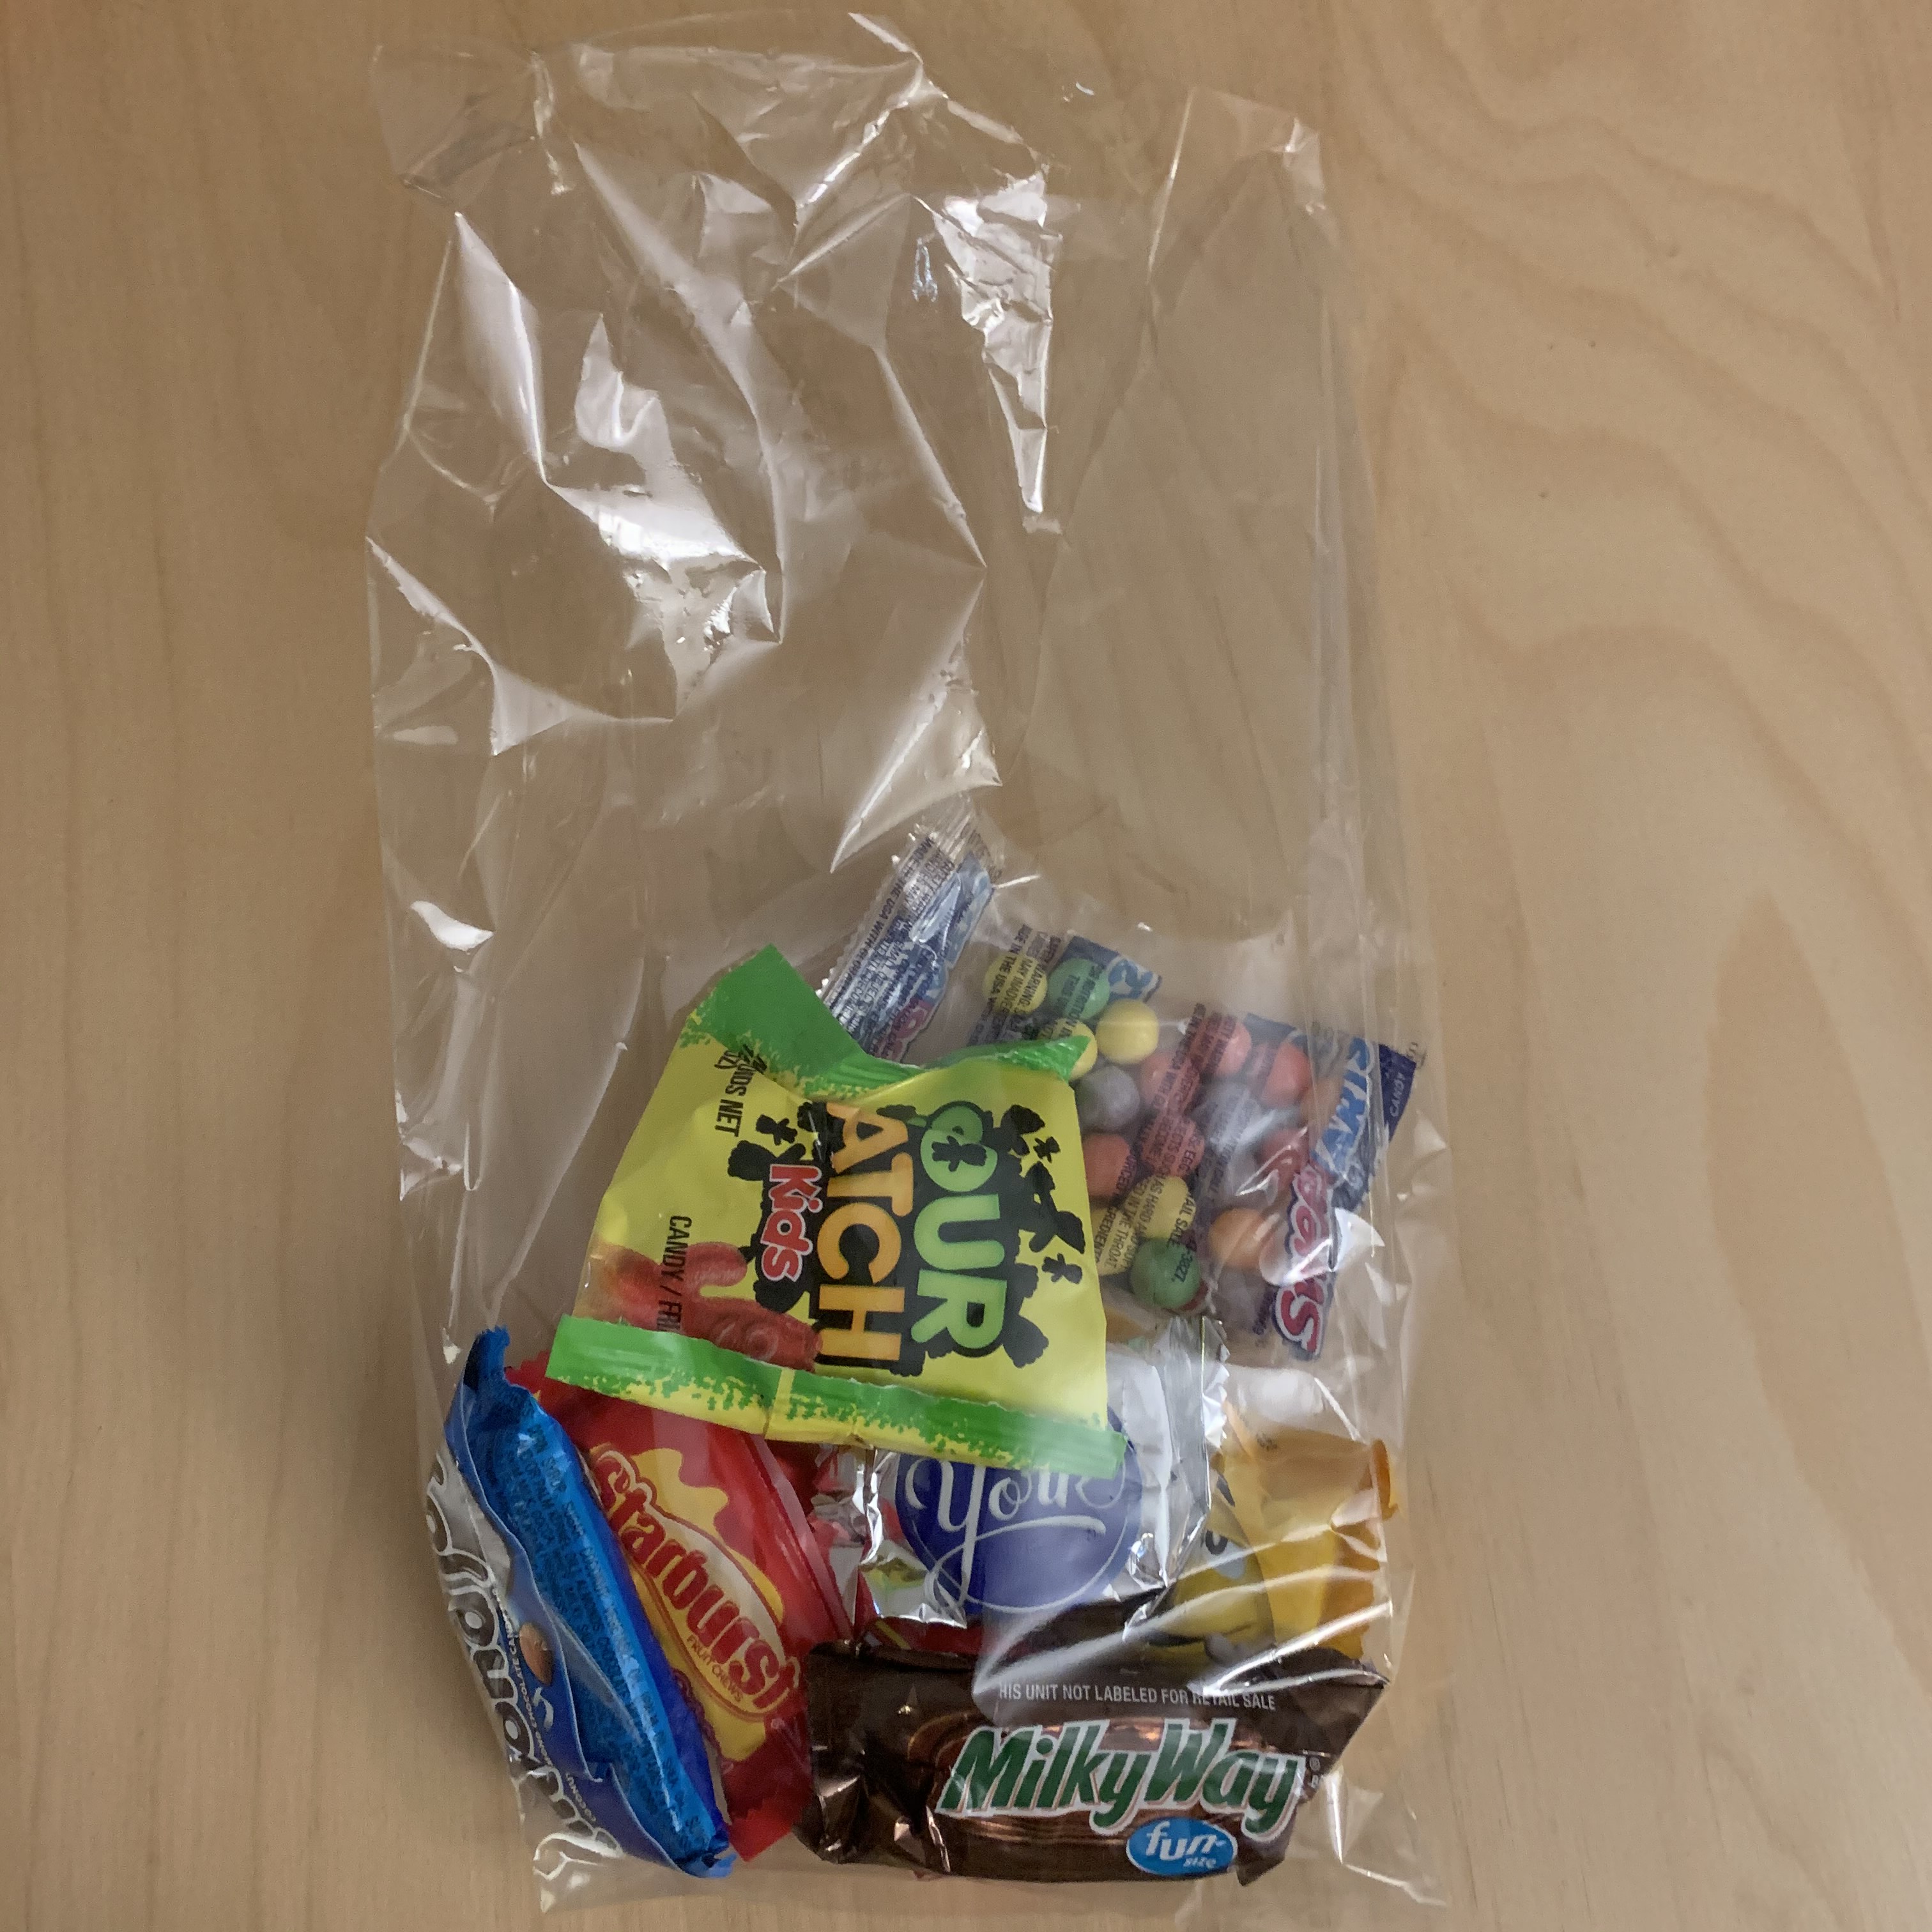
- CANDY – variety is best! We bought two big bags from Costco – one of mixed chocolates and one of fruity candies.
Supplies for the Tags
- Small Piece of cardboard
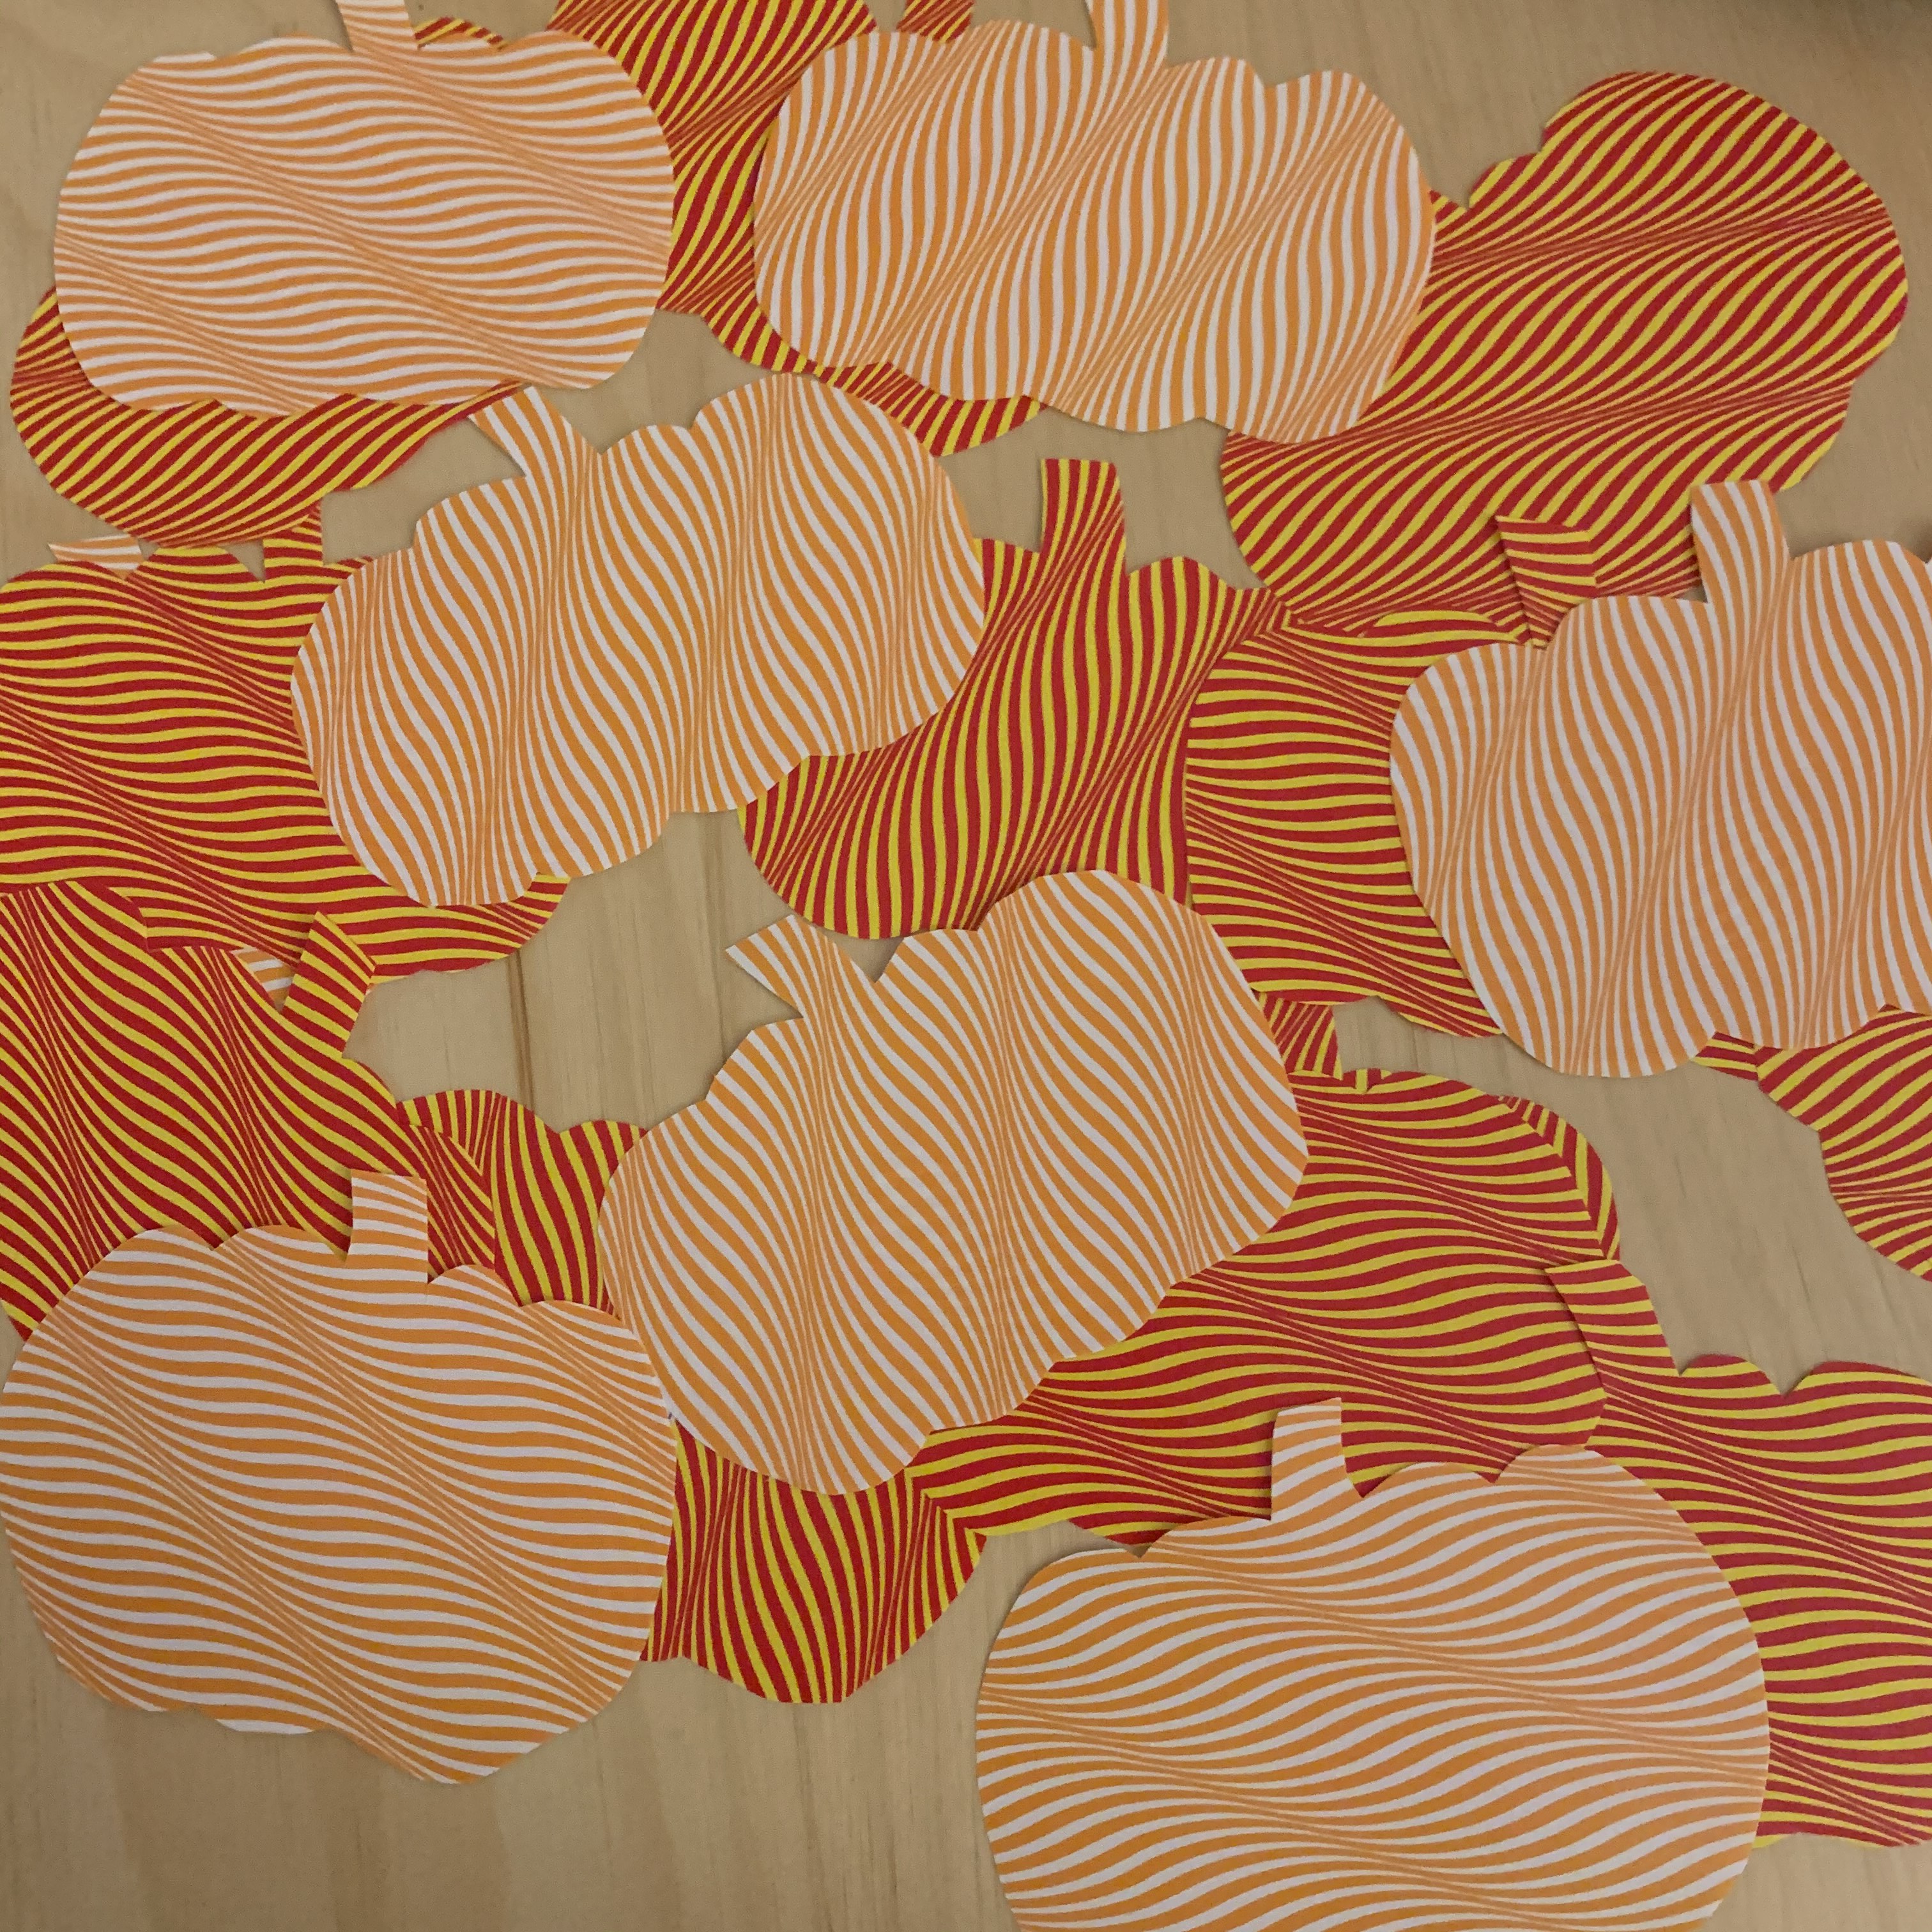
- Orange paper (I used origami paper since that’s what we had in the house. Thinner paper like this is probably easiest to cut into shapes)
- Sharpie
- Pen
- Tape
Instructions for the bags
- Divvy up the candies between the number of bags you want to create
- Cut the ribbon into approximately 1 foot lengths for each bag
- Tie the ribbon once or twice around the bag
- Curl the edges of the ribbon – great instructions on curling ribbon, with videos, can be found here
Instructions for the tags
- Draw a pumpkin-like shape on a piece of cardboard
- Trace around the edges generously on a piece of orange paper
- Carefully cut within the lines to cut out your pumpkin shape
- Trim edges as needed
- Write a cute message on your pumpkin
- Tape to bag

You can use this idea for any holiday, just change the ribbon color, tag color and shape and message!
We’re excited to distribute our gift bags and hope our neighbors enjoy and have a little something sweet during these times.

Happy Halloween!
